Friday, 17 July 2015

251: Wound markers

Normal people leave a die on or near a model indicating how many wounds it has left. I am an idiot, I forget, pick it up and roll it.
I made bandage wound markers to solve the problem.
  1. Wrap clingfilm/foodwrap around a round pencil.
  2. Wrap some toilet paper (unused) around that.
  3. Liberally paint on dilute PVA.
  4. Wait for that to dry, and give it a couple more coats.
  5. Cut the newly made tube into sections.
  6. Paint on a couple of red dots. I added some water to try to get the impression of blood seeping through.
Most models have something that the bandages can be hung on.

Ouch!

Thursday, 9 July 2015

250: Magnetising a flying stand

After a cursory search I could not find an example of how to do this for a flyer. I found a few tutorials for skimmer bases. I did this for the Crimson Hunter/Hemlock Wraithfighter kit. I would wager that it could be adapted for most flyers.

I used 4mm (diameter) by 3mm neodymium magnets.

  1. Before gluing the fuselage together, stick a blob of greenstuff in the dorsal half of the fuselage, where the top of the stand will come to rest. To stick greenstuff, scratch with a knife, apply some superglue and then push in the pliable greenstuff.
  2. To mark where the top of the stand will sit, hold the fuselage together, and push the stand through, so it leaves a cross mark in the greenstuff. You can prevent the greenstuff from sticking to the stand by putting clingfilm/foodwrap over the the greenstuff. (Beware superglue will stick to clingfilm, so wipe up any that may have squeezed out from behind the greenstuff blob).
  3. Wait for the greenstuff to cure.
  4. Drill the top of the flightstand to hold a magnet
  5. Drill the greenstuff, where the cross is marked.
  6. Glue in the magnets.
Now the model can be pick up without the stand dropping off. Handily removable for transport.

Sunday, 14 June 2015

249: Rainbows on heated steel

Interference in thin films of oxide make heated steel pretty colours. So, the hot end of a gun can be painted light blue, and as you proceed to cooler parts it goes through purple to weak orange.

I got this idea from some blog or other, but could not find it again. (Let me know, if you have an example). I used it on a multi-melta.
Using inks/washes or possibly very thin paint build up some rings. Try to vary the intensity, so the colours blend. If it comes out a bit strong, it can be knocked back a touch by drybrushing with the base metal colour again. 

Update: Thanks to Siph, here's my reference.


Friday, 5 June 2015

248: Castle legs are back!

They're back.


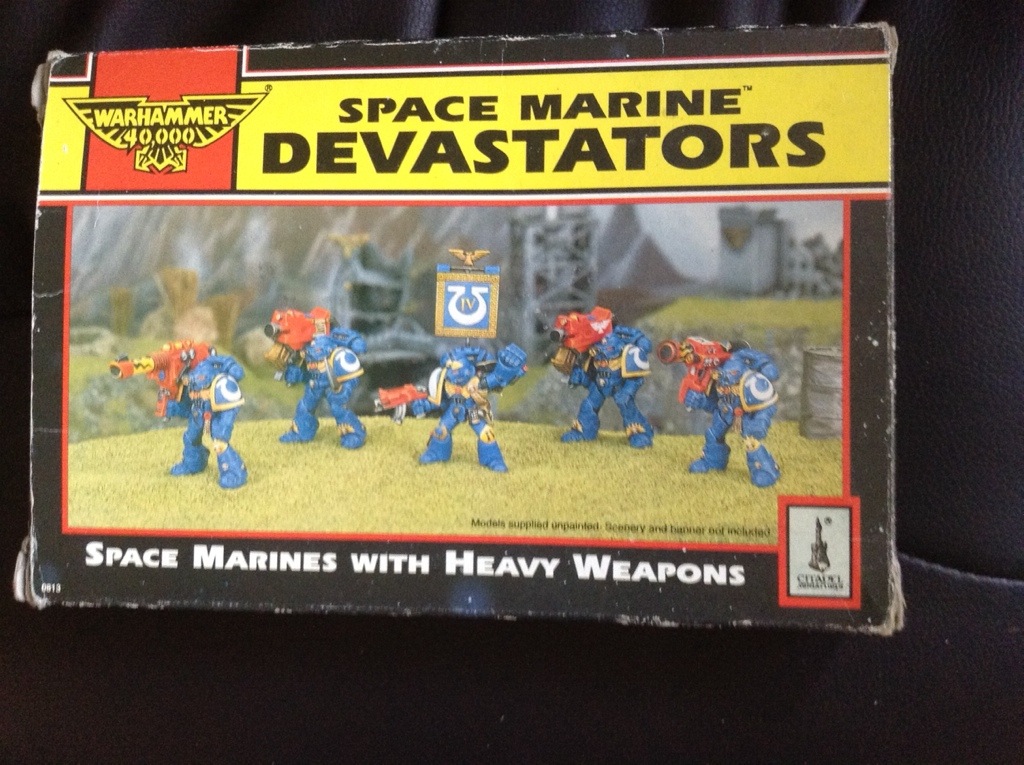
The old school castellated legs are back for the Devastators and look brilliant.  I remember the old Devastator models so fondly (image below) and loved the really solid look of the extra-bulked-up legs.  I'm so happy to see them back again now too.


Saturday, 30 May 2015

247: Necrons vs Space Marines and Eldar

Not only do we have a new contributor here on the blog, but he's roped me into a bit of a local league/tournament kind of thing.  You can read about it on the Astronomican forum.

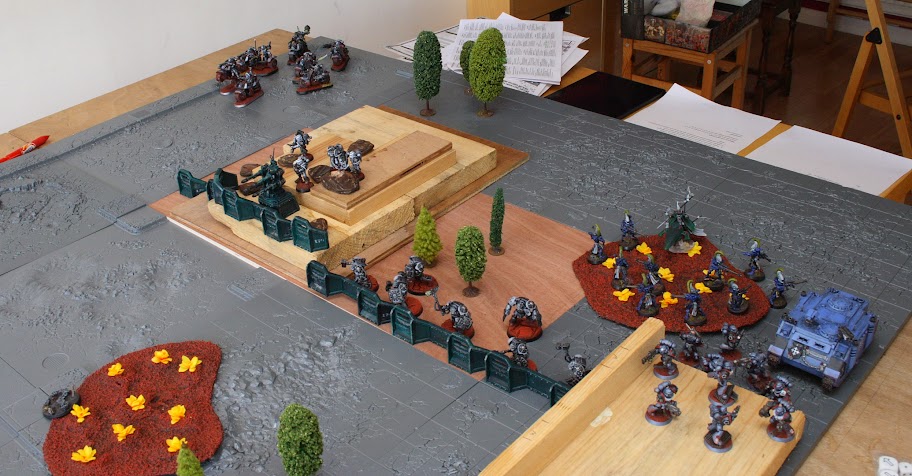
I got my first game of the tournament in against none other than ColonelFazackerley (CF) and his absolutely brilliantly painted Iron Knights (Space Marines) and Eldar.  You can see the full battle report for CF on the forum here:  CF batrep.  I thought I'd repost it here, and give my take on the game.

We were playing Forge The Narrative missions, this one being modified Kill Points as a primary, Linebreaker as a secondary, The Relic as a tertiary, and Hammer and Anvil deployment

The Setup
We were both nice and aggressive, getting right up to the lines ready to go at it.


LinkWithin

Related Posts Plugin for WordPress, Blogger...